Walk-in Shower Enclosure - London
We manufactured this walk-in frameless shower enclosure for a spacious London bathroom. The main shower has a perfect wet room floor with hidden drainage under the marble slabs. We also built a matching enclosure for the WC in the opposite corner with the same frameless design. Both are massive rectangular corner enclosures with glass panels built right into the walls and ceiling.

Large shower enclosure design
Our team installed the shower enclosure in a luxury bathroom as part of a high-end project. The bathroom was very spacious with light finishes and high-quality products. Hence, we needed similar design glass for the shower. We placed enormous enclosures with minimal metal parts in the bathroom's corners.
One corner of the bathroom had a large shower enclosure, while another had a WC with matching glazed construction. Both share the same design and features: frameless, massive size, walk-in floor, and they look tremendous. The enclosures appear to be part of the bathroom rather than additions made later.

Walk-in wet room floor
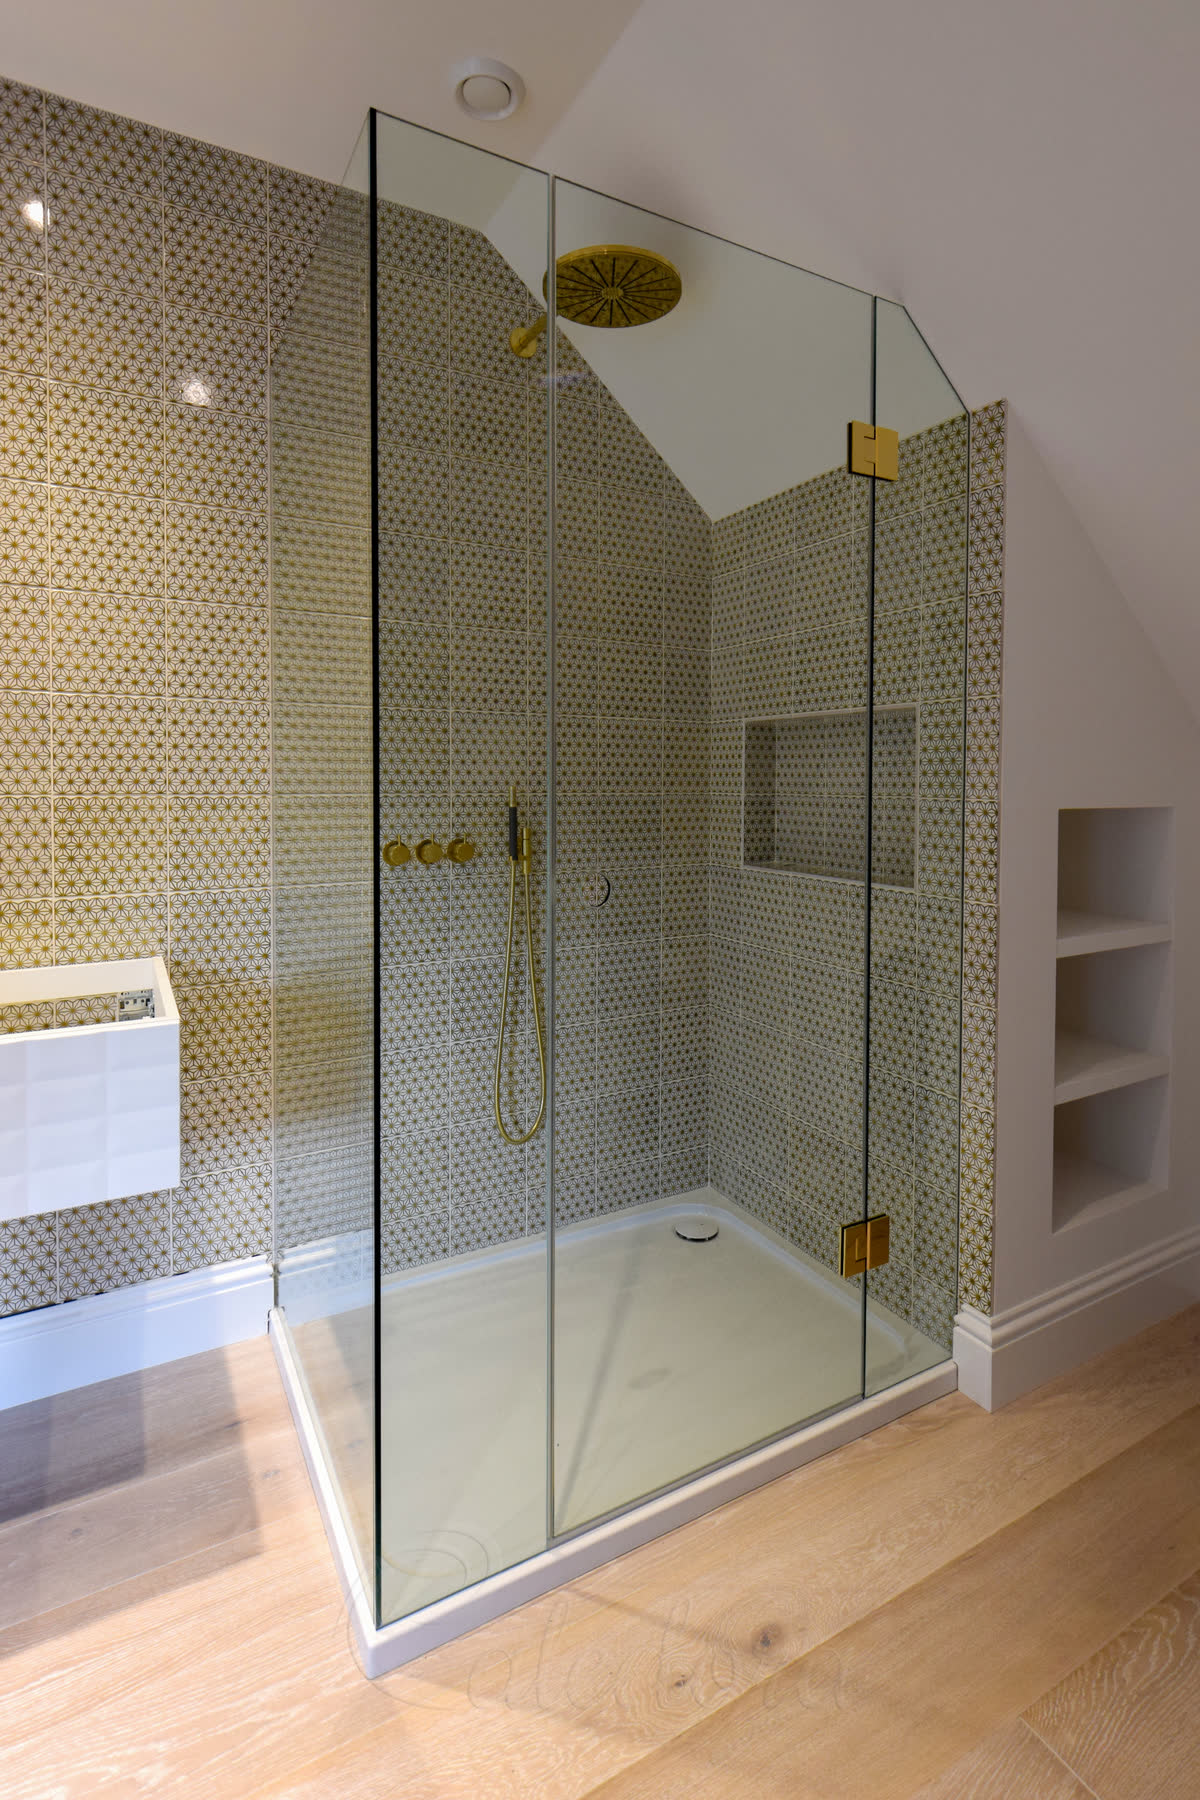
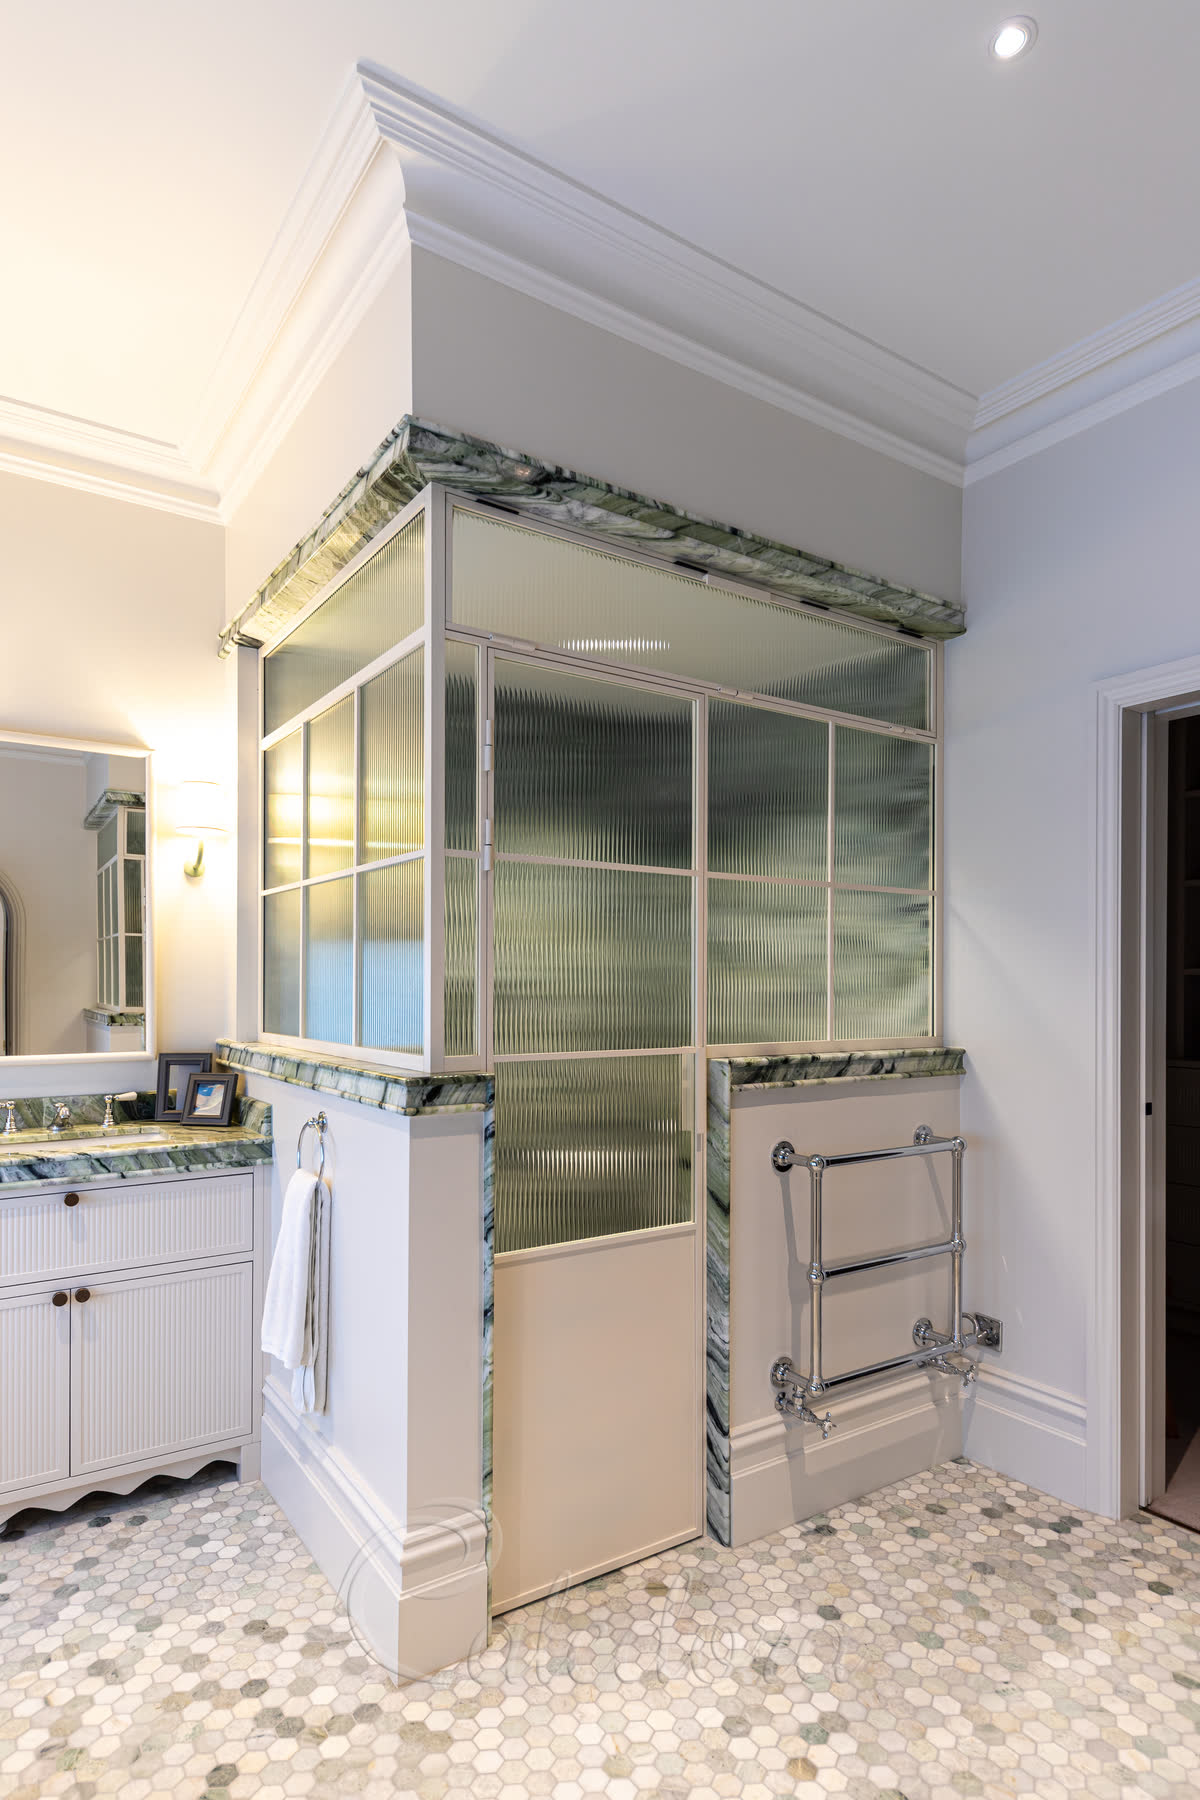
The marble floor runs level throughout, with glass panels rising directly from between the stone slabs. Under the door, the shower floor matches the bathroom stone level perfectly. The stone inside the shower conceals a walk-in tray underneath from view. The combination of the drain, tanking, and our glass with profiles prevents water from escaping onto the bathroom floor or the ceiling downstairs.
The sophisticated drain in this glass shower enclosure improves the wet room floor quality. As you can see in the picture, there are four mm-wide grooves on the floor surrounding the stone slabs. These are the joints where the water goes down into the hidden drain and moves further in the waste pipe. This design creates a hidden drain and tray in the shower, allowing you to see only the stone floor surface, similar to that in the bathroom, without any extra parts.

Floor profile integration
The stone company installed the marble floor slabs and left grooves for our glass/profiles. We installed our U-channels flush with the surface in these grooves. The groove was slightly wider than our channels, which is correct, as we need about a 2 mm gap for a proper seal around the profile. Any wet room floor must have proper sealing and tanking, as water always finds its way through if any is left.
It's crucial to plan everything in advance, as once the stone is laid, it's too late to make any changes. The safest method involves first laying the bathroom stone, then installing the profiles to be flush with this level, tanking the profiles inside the shower, and finally laying the stone flush with the profiles before sealing the joint. This method ensures that if water seeps through the joints in the shower, it will remain contained because the profiles are waterproofed with the floor.

Corner shower positioning
Frameless showers in bathroom corners provide an open feel. We created two spacious enclosures, with the short side fixed, and positioned the door on the long side. The corner placement allows the structural walls to hold all the necessary shower appliances. At the same time, our glass keeps the water contained and stays discreet. To preserve the bathroom's bright appearance, we used ultra-clear glass, which is less noticeable than standard clear glass.
Corner shower placement is very convenient and popular. For example, in this shower, the short wall has a built-in niche for shampoos and a handheld showerhead. The long wall has the shower controls right in front of the door entry. This placement is very convenient because you can reach the controls without getting wet when you turn the water on. This arrangement combines convenience with an open, airy feel in the bathroom.

Frameless design with wall recessing
To create the cleanest, frameless look, we built all fixed glass panels into the walls, ceiling, and floor. Our team fitted glazing profiles flush with the stone surfaces on every side. The client's team then applied plaster flush against the profiles and painted the surfaces. When finished, you only see a thin 2mm metal edge and clean seal lines.
We offer a few ways to achieve this invisible look. The standard profile installation shows a 2mm metal edge on the surface next to the glass. For clients who want no visible metal at all, we can work with your team to create grooves without visible profile edges. We match our sealant colour to your grout, so you see only a 2-mm sealing line around the glass.

Door position on the long side
We positioned the shower door along the longest wall for the best access. The door connects to a small 100 mm fixed panel that we UV-bonded to the short enclosure's side. This design lets the door swing both ways, keeping you dry from the running water when you enter.
The large door needed three polished nickel hinges to support its weight and match the room's other fixtures. Placing the door on the side means you can step in without getting wet from running water. The rectangular layout divides the shower into a dry area for entry and a wet zone under the showerhead.

Massive overhead rainfall shower
With such a large shower space, why not take full advantage of the size? This setup has an enormous ceiling-mounted rainfall head that spans almost the full width of the enclosure. While most large showers have dual heads for two people, our client preferred one oversized head for an incredible single-person experience.
Large shower enclosures like this one offer excellent flexibility. You get plenty of room to move, easy access, and space for impressive fixtures like this massive showerhead. The key is planning the water pressure and drainage properly to handle the extra flow from such large fixtures.

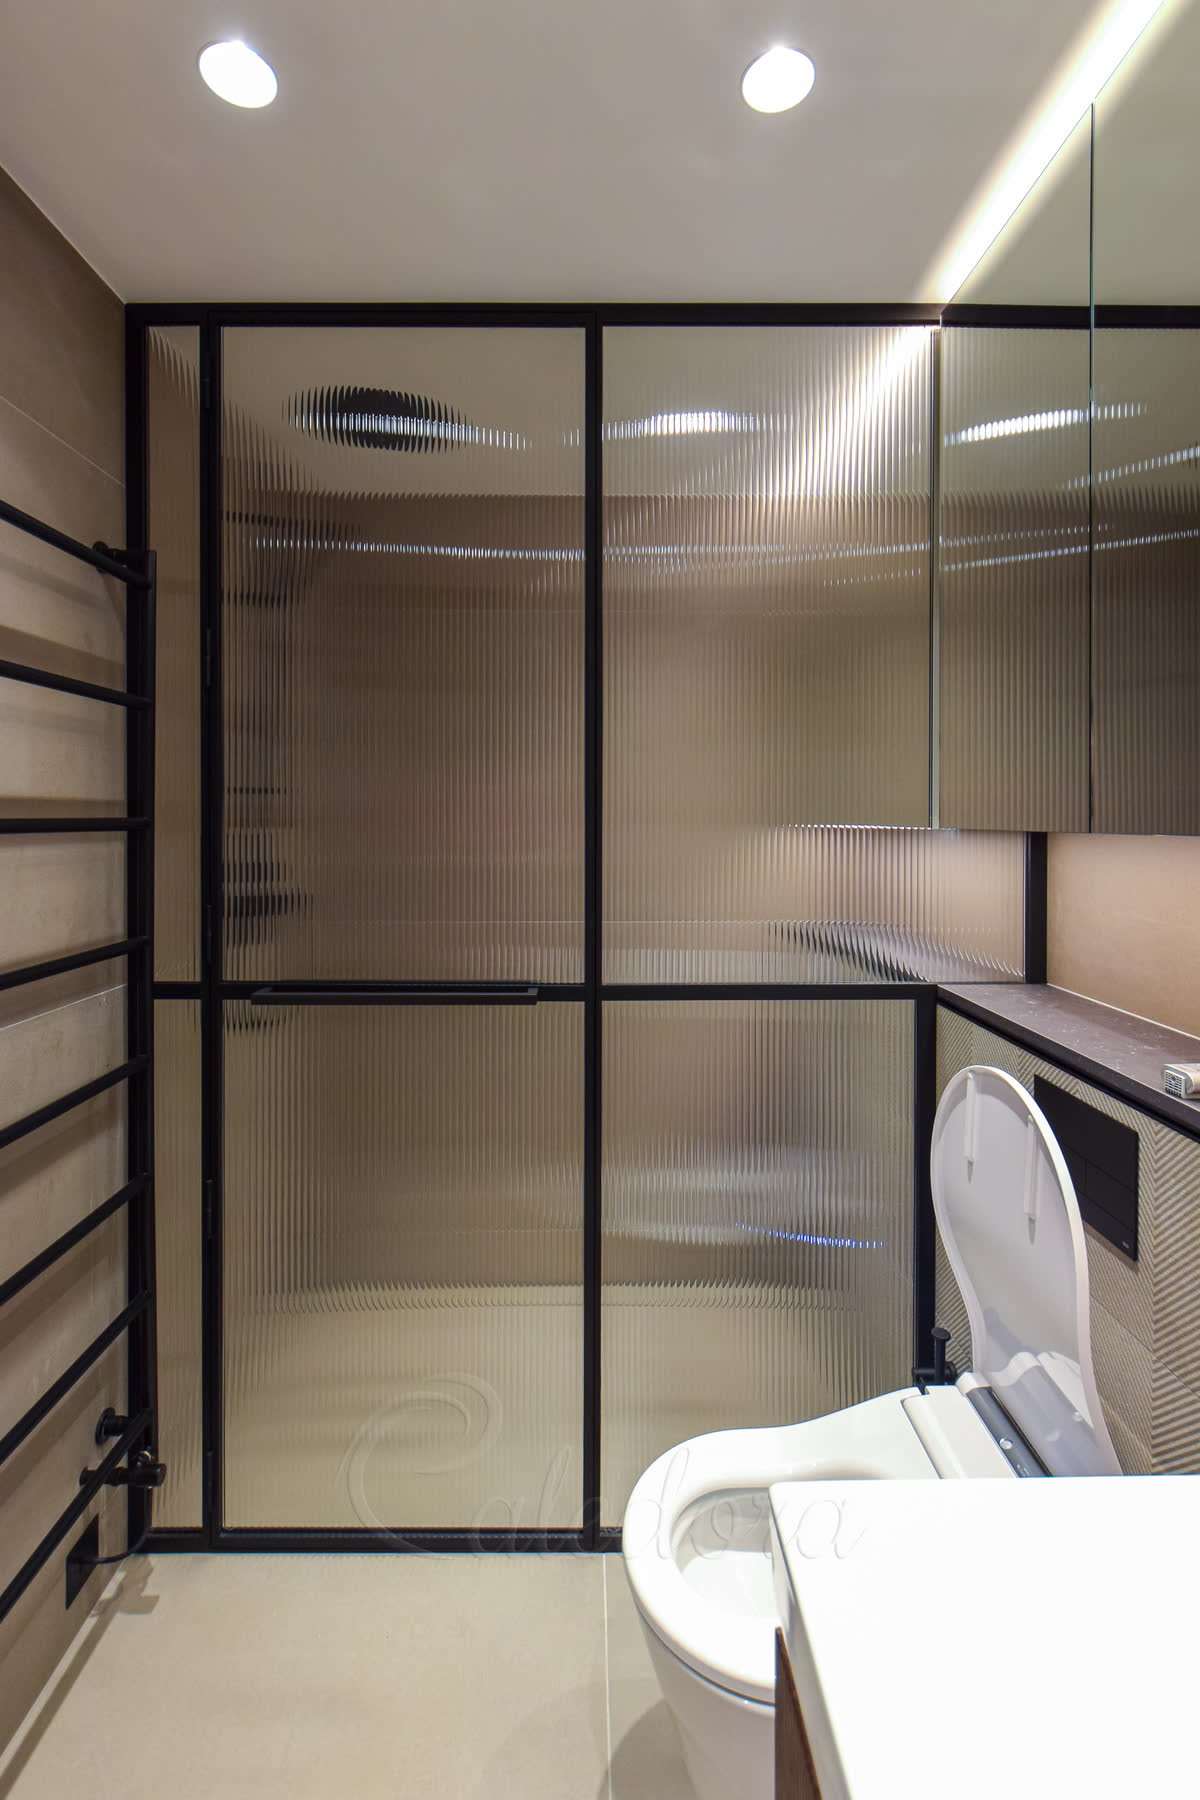
Glass WC enclosure to match
We create all kinds of custom glass installations, not just shower enclosures. In the opposite corner of this large bathroom, we built a matching glass enclosure around the toilet. This arrangement maintains the bathroom's luxury design while containing odours and separating the area.
Instead of solid walls, the client wanted glass to maintain the spacious feel. We used the same frameless design and walk-in floor approach as for the main shower. Both enclosures sit in opposite corners and look identical, creating perfect symmetry in the bathroom layout.

Full-height glass with smart ventilation
The glass panels reach full height towards the ceiling for maximum impact. We placed a small 150 mm fixed panel above each door to protect against any ceiling movement over time. The doors are still a generous 2300 mm tall, but this top panel prevents any ceiling contact.
This smart home boasts a cleverly designed ventilation system. We installed door seals for water containment, knowing this would make the enclosures nearly airtight. That's why we left a 20 mm gap above each door for air circulation. Further, the ceiling extractors pull air through long grooves in the ceiling – you can see these 700 mm slots in the picture.

Two perfect walk-in partitions
Both enclosures feature genuine wet room floors – no steps, no raised areas, and everything is perfectly level. They achieve the ultimate frameless look with hidden fixings, minimal visible metal parts, and ultra-clear glass. These are large glass structures that feel built into the bathroom instead of being added afterwards.
Every bathroom is different, so what works here might not suit well in another space. The best results come when you involve us during the design stage. Our team understands all the technical requirements for wet room floors and frameless glass. We work with your builders and designers on complex projects – and we deliver.
Product Specification
Style
Corner Shower Enclosure
Metal Finish
Polished Nickel
Glass Type
10 mm Ultra Clear Glass
Frame Style
Frameless
Special Features
Large size, Full height, Wall recessed panels
Price Range
£££
How Long Does Walk-in Frameless Shower Enclosure Take to Manufacture?
Frameless corner installations rely on precise glass-to-glass connections and minimal hardware. Your Walk-in Frameless Shower Enclosure timeline depends on measurement accuracy and wall preparation.
Is your bathroom tiled and ready?
Interested in a Similar Design?
Let our experts create a bespoke shower solution perfectly tailored to your space. From survey to installation, we handle everything with precision and care.
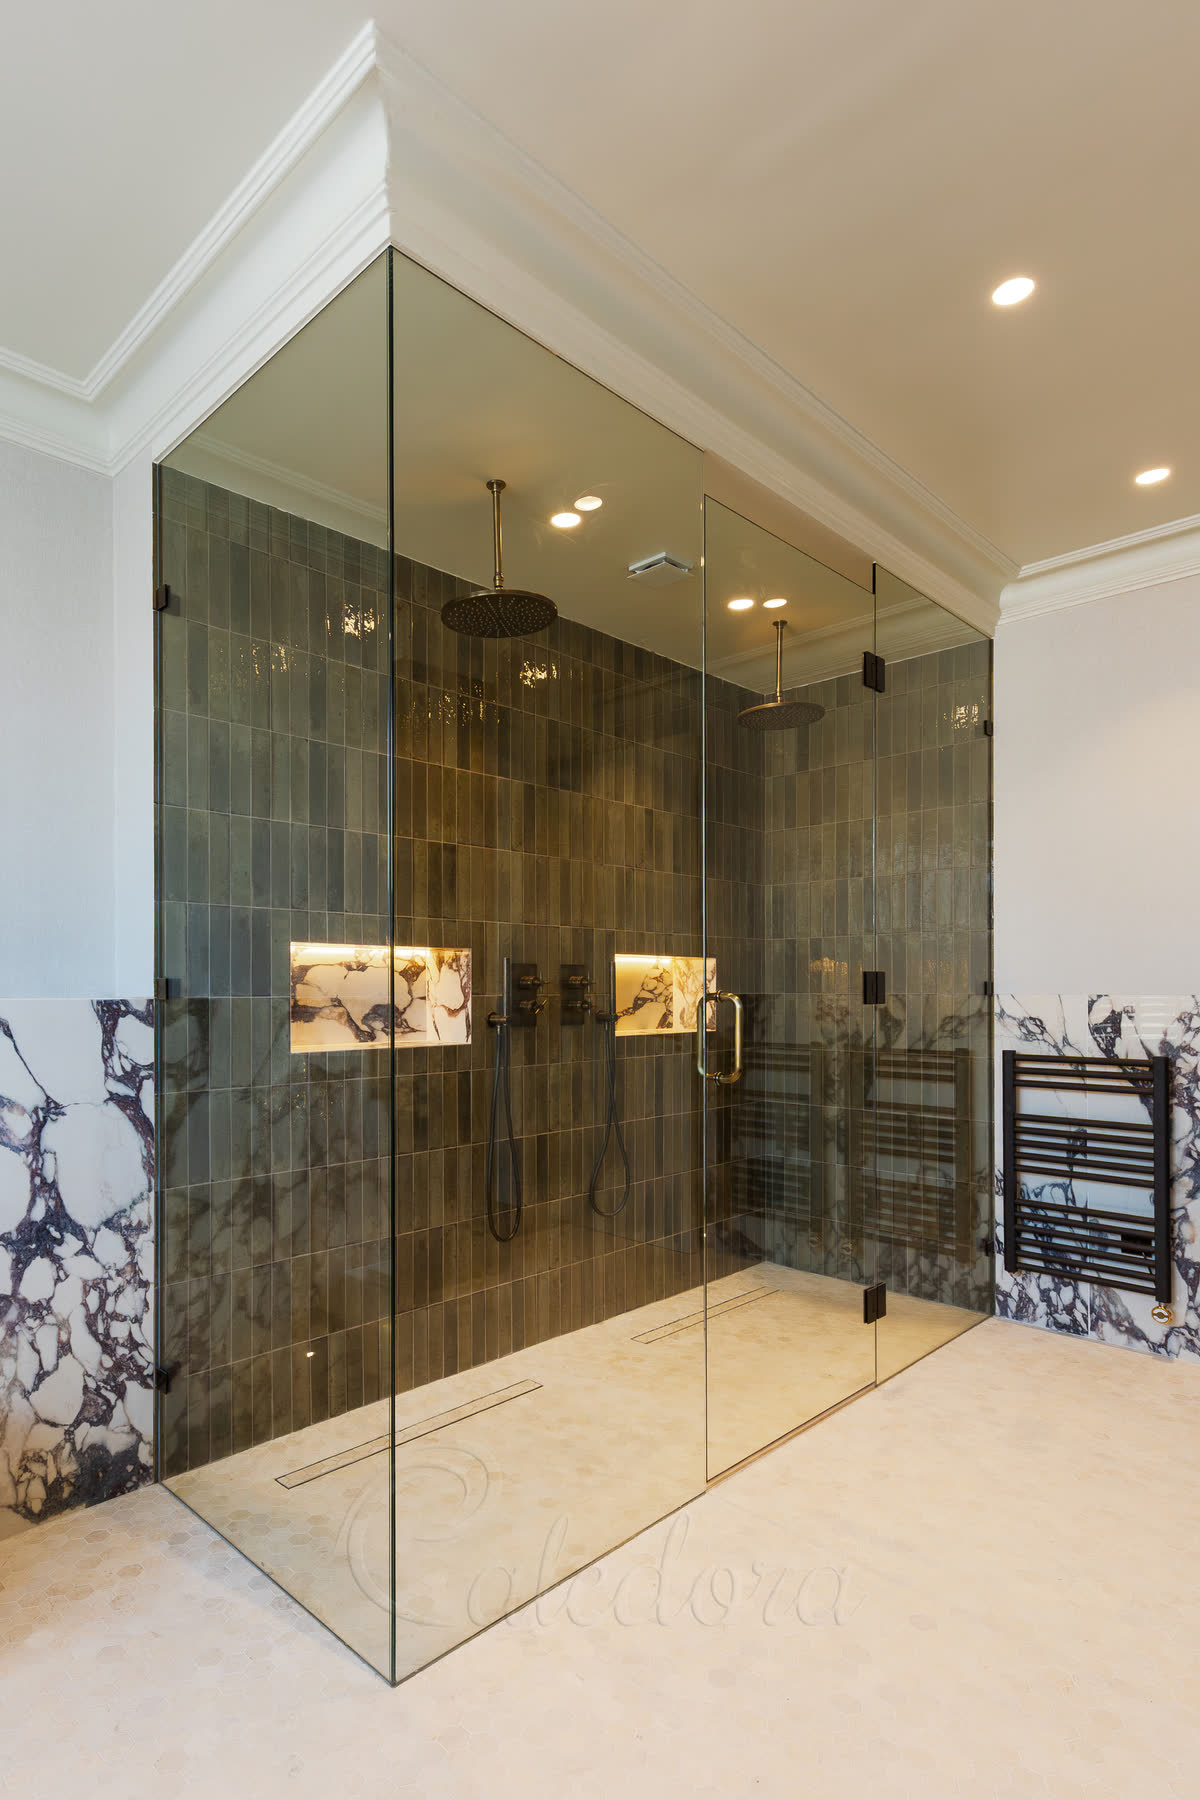
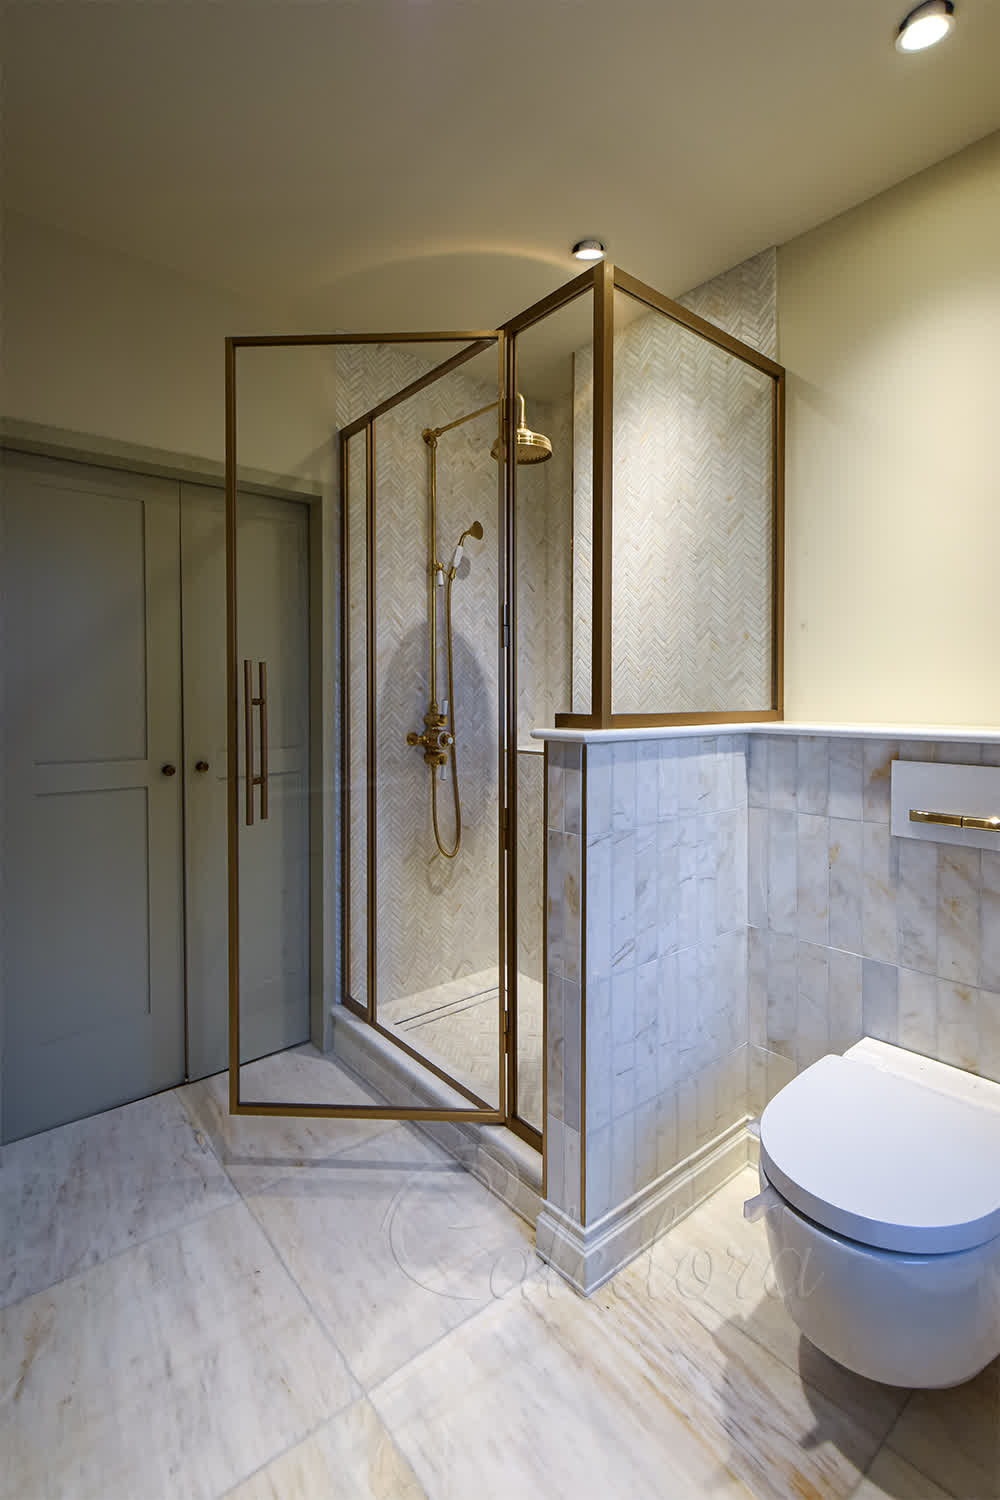
Similar Shower Room Ideas
Explore more shower room ideas with similar styles, finishes, and features. Find inspiration from our portfolio of completed installations that match your design preferences.
Understanding Our Pricing
Each symbol reflects a full-service estimate, including survey, design, production, and installation. We only offer complete packages — no supply-only options.
Prices are adjusted based on real projects and assume the installation is within one hour's travel from one of our offices. Travel beyond this range may increase the price.
VAT is not included and will be added where required. Displayed prices are for guidance only and reflect localised, complete installations.
Price Range Guide
- £Up to £1,500
- £££1,501 - £2,500
- ££££2,501 - £3,200
- £££££3,201 - £8,000
- ££££££8,001+